

What Causes Lens Flare and Ghosting in Security Cameras
Why Does a Camera Image Look Hazy Around Bright Lights?
A security camera can produce a clear image during the day and still struggle when a bright light enters the scene. Streetlights, vehicle headlights, reflective signs, low-angle sunlight, and nearby infrared illuminators can all create unwanted artifacts.
Two common terms used to describe these effects are flare and ghosting. They are related, but they are not exactly the same. Flare often appears as a loss of contrast or a hazy glow, while ghosting can appear as a secondary image, bright spot, or repeated reflection.
These effects are not always caused by a defective lens. They can arise from the interaction of optical surfaces, coatings, the sensor cover glass, protective windows, filters, and the camera housing. Assembly contamination and the position of nearby components may also contribute.
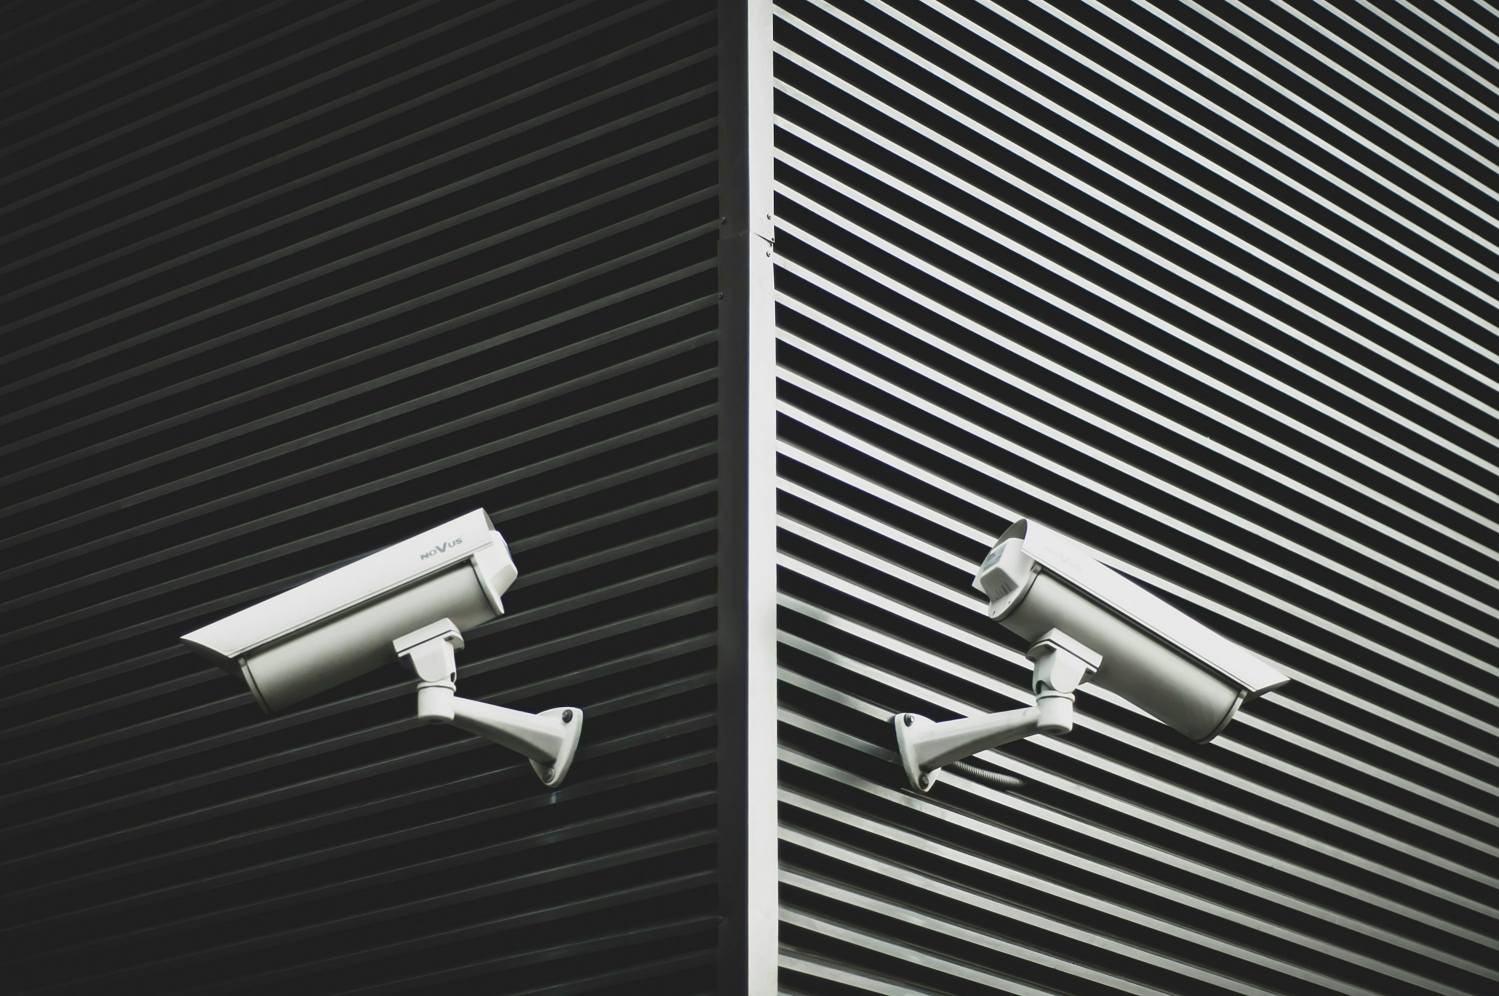
For camera manufacturers, understanding the source is the first step toward improving image quality. Replacing a lens without identifying the cause may not solve the problem.
What Is Lens Flare?
Camera lens flare is unwanted light within the imaging system that reduces image quality. It can be caused by light scattering or reflecting from optical surfaces, mechanical surfaces, or contaminants. Depending on the scene and lens construction, flare may appear as a washed-out region, a bright veil, reduced contrast, or colored artifacts.
Flare is particularly noticeable when a bright source is inside or just outside the field of view. It may also occur when light enters through the front of the camera at an angle and reflects from surfaces that were not sufficiently controlled.
The impact depends on the brightness and position of the source, the optical design, coating performance, aperture, and internal mechanical layout. A lens that performs well in a standard resolution test may still need additional evaluation under strong off-axis illumination.
What Is Ghosting?
Lens ghosting generally refers to a recognizable secondary image or bright artifact formed by unwanted reflections within the optical system. Light can reflect between lens surfaces, between the lens and sensor cover glass, or between other parallel surfaces in the camera module.
A ghost may appear as a faint duplicate of a streetlight, a colored ring, a polygon-shaped spot, or another structured artifact. Its position can change when the bright source moves across the frame.
The shape and location of a ghost can provide clues about the surfaces involved. However, diagnosing the exact cause often requires testing the assembled camera and changing one component at a time. A front protective window, filter, or sensor cover glass may be part of the reflection path, so the lens should not be blamed automatically.
Common Causes in a Security Camera
One common cause is reflection between optical surfaces. Every air-to-glass interface can reflect a portion of incoming light. Anti-reflection coatings reduce this reflection, but their performance depends on wavelength, angle of incidence, and coating design.
A second cause is contamination. Dust, fingerprints, oil, adhesive residue, or cleaning marks can scatter light and increase haze. A tiny particle near a sensitive surface may become visible when a strong light source enters the scene.
A third cause is mechanical reflection. Shiny internal surfaces, poorly blackened barrels, exposed metal edges, or reflective adhesive can redirect stray light toward the sensor.
A fourth cause is the camera's front window or filter stack. A protective cover glass, IR-cut filter, or other parallel surface may create additional reflection paths. If these components are added after the lens has been designed, the final system may behave differently from the original optical model.
Finally, the light source itself matters. A strong point source just outside the field of view can create flare even when it is not visible in the captured image.
How Anti-Reflection Coatings Help
An anti-reflection coating is designed to reduce reflections at an optical surface over a specified wavelength range and incidence angle. By reducing reflected energy, coatings can improve transmission and help limit some forms of flare and ghosting.
However, “AR coated” is not a complete performance specification. A coating optimized for visible light may not provide the same performance in near-infrared wavelengths. A camera that uses IR illumination should therefore consider the coating's spectral range.
Coating performance can also change with angle. Wide-angle lenses receive rays at different angles across the field, and a coating should be suitable for the actual optical geometry.
For demanding applications, ask the supplier for the relevant transmission or reflectance information and clarify the wavelength range. Also confirm whether the specification applies to all relevant optical surfaces or only selected elements.
Optical Design and Mechanical Design Must Work Together
Optical designers can reduce unwanted reflections through lens configuration, material selection, surface curvature, and control of stray-light paths. But optical design is only part of the solution.
The lens barrel and camera housing should also be designed to limit internal reflections. Matte black surfaces, appropriate baffles, and controlled apertures can help prevent off-axis light from reaching the sensor through unintended paths.
The position of filters and cover windows should be considered early. Parallel surfaces can create repeated reflections, while a carefully specified tilt or wedge may help redirect some reflections away from the image sensor. Any such change must be evaluated for its impact on image quality and mechanical integration.
Assembly cleanliness is equally important. Dust and fingerprints can undermine the benefit of good optical design and coatings. A controlled cleaning and assembly process helps keep the finished camera consistent with the approved sample.
Practical Troubleshooting: A Step-by-Step Approach
When flare or ghosting appears, start with a repeatable test scene. Use a bright point source at defined positions: inside the field of view, near the edge, and just outside the frame. Keep exposure and camera settings fixed so that comparisons are meaningful.
Next, inspect the front surface and clean it using the approved procedure. Do not use an aggressive solvent or cloth that may damage coatings. Capture the same scene again.
If the issue remains, compare the camera with and without any removable protective window or filter, where the design permits safe testing. This can help identify whether an added surface is contributing to the artifact.
Then inspect the internal mechanical surfaces and the alignment of the optical stack. If possible, compare another sample from the same batch. A difference between samples may indicate assembly contamination, component variation, or a mechanical alignment issue.
Finally, repeat the test at the intended operating wavelengths. A camera with IR LEDs should be tested with those LEDs enabled, because a visible-light-only evaluation may miss artifacts that appear in night mode.
What Should Buyers Include in a Lens Specification?
A useful specification should describe the scene and the system rather than simply state “no flare.” Absolute elimination of all stray light is rarely a realistic requirement under every possible lighting condition.
Include the sensor model, lens field of view, aperture, operating wavelength range, and whether the camera uses IR illumination. State whether a protective window, IR-cut filter, or other optical component sits in front of the lens.
Describe the expected light sources and their positions. For example, a road-facing camera may encounter headlights at night, while an outdoor monitoring camera may face low-angle sunlight. Define the image region and the level of artifact that is acceptable for the application.
Where possible, provide sample images showing the problem. A supplier can then evaluate whether the likely cause is optical design, coating, mechanical stray light, or assembly. Agree on a test method and acceptance criteria before mass production.
Boshi Optics: Evaluating the Complete Imaging Assembly
Boshi Optics supplies optical products for security surveillance and other imaging applications. When evaluating flare or ghosting, the most useful starting point is the complete camera configuration: sensor, lens, filters, protective window, housing, and illumination.
Customers can review the company's M12 lens range or discuss application-specific requirements through customized optical products. For a technical review, share the sensor model, field of view, wavelength range, camera drawings, and representative images of the artifact.
This information helps distinguish a lens-level issue from a system-level reflection or assembly problem.
Conclusion: Test With the Light Your Camera Will Actually Face
Flare and ghosting are often treated as minor image defects until they interfere with night surveillance, object recognition, or the visibility of important details. Their causes can involve multiple surfaces and components, which is why a complete-system approach is essential.
Specify the wavelength range, evaluate coatings, control internal reflections, maintain assembly cleanliness, and test with realistic bright sources. A camera should be validated not only under comfortable laboratory lighting but also under the challenging conditions it is designed to monitor.